
Direct-to-Glass UV Printing Sample Qualification
Qualify substrate preparation, ink adhesion and finished appearance on the actual glass intended for production.
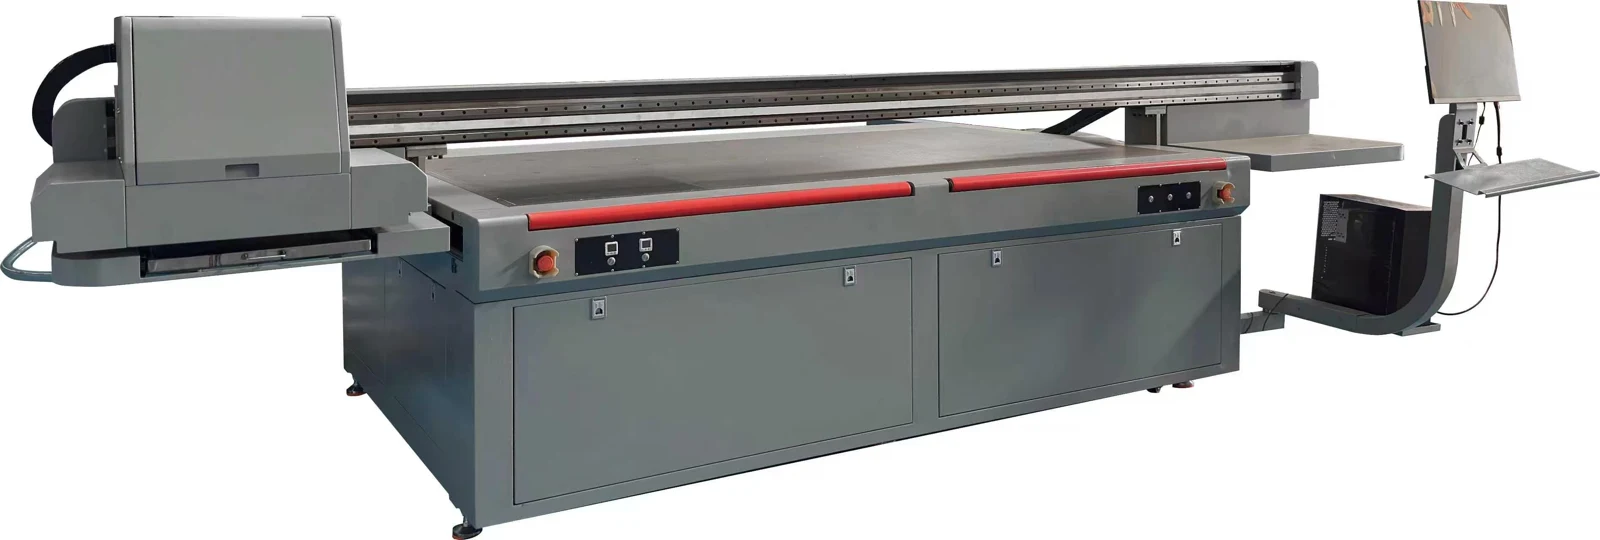
Identify the exact glass and printed face
Record supplier, coating, thickness, finish and which face receives the print. Use coupons from production material. Agree on the approved cleaning and handling sequence before printing, and label each coupon so treatments and batches can be compared.
Compare approved ink and primer systems
Mimaki's troubleshooting guidance identifies primer as one possible way to improve adhesion on glass. Follow the selected ink and printer suppliers' process for the actual substrate. Keep a controlled sample for each approved preparation option and record ink, primer, curing configuration and time before evaluation.
Test against the intended use
Agree on an adhesion method and conditioning interval with the customer. Inspect printed appearance from the intended viewing side and assess any cleaning or abrasion exposure relevant to the job. Keep an approved reference sample and replicate the process on a full panel before quoting production yield.
What to record before production release
Use one sample ID per glass batch and treatment. Note the intended cleaning chemicals and exposure separately from the first adhesion check. Repeat the approved condition on a panel from production stock before accepting the process for a new glass coating.
Related equipment and reading
Send your drawings or samples for review.
Technical reference
Mimaki UV ink adhesion guidance. Manufacturer guidance discussing substrate treatment and primer for glass.