
Aluminum Door Hardware Machining
Plan a repeatable workflow for lock pockets, handle slots and concealed hinge recesses.
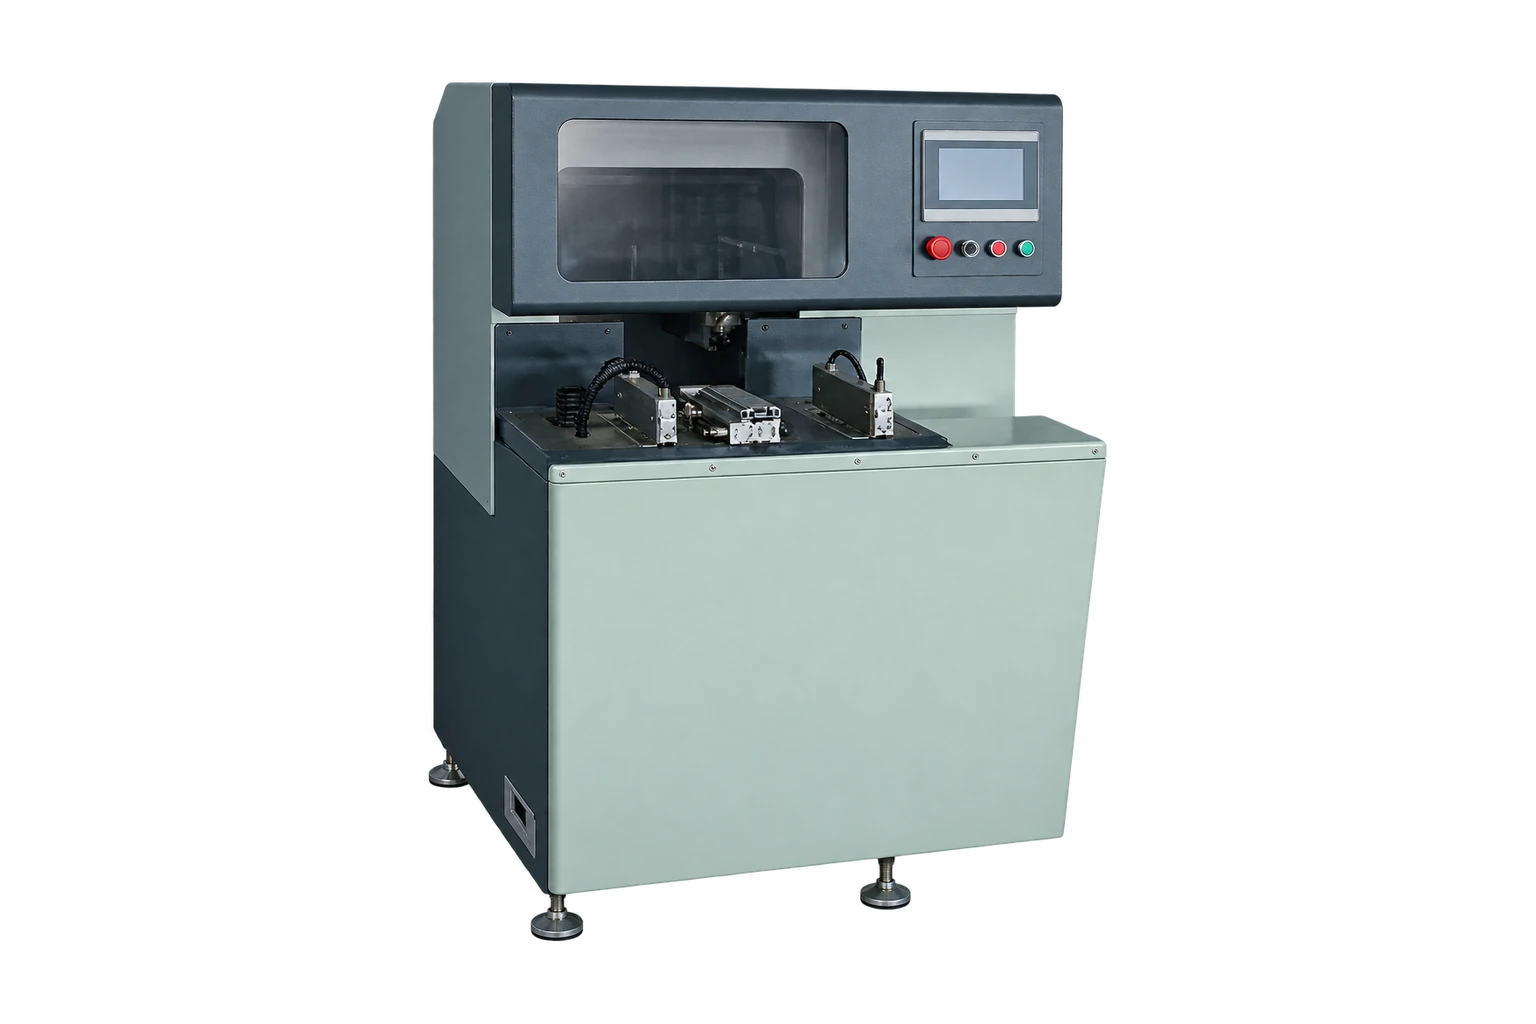
Suggested production workflow
Use the actual lock body and hinge set to define pocket depths, corner radii and access faces. Prepare both handed versions if the line makes left- and right-hand doors. Run the complete tool sequence on the production extrusion, then check hardware seating and fastener clearance on an assembled sample. Confirm each face and tool change in the supplier trial.
Equipment to evaluate
Review the Automatic Tool Change Hinge Milling Machine against your drawings and confirm the final setup on a sample run.
What to prepare
Group profiles by door system and hardware family. Record reference face, handing and drawing revision on the job card rather than relying on visual similarities between parts.
What to check during the trial
Stage lock, hinge and handle machining so each feature is checked against the hardware drawing before the next operation. Reserve first-piece inspection for each new handing or hardware change.
How to record the decision
Record pocket dimensions, fastener alignment and assembly clearance in the inspection sheet. A fitted hardware sample is more informative than a photo of the finished pocket alone.
See the concealed hinge and lock pocket application example.
If you trial a CNC hinge and lock hole drilling machine, include both handed stiles in the same acceptance lot. Dry-fit the hardware separately on each side and record which fixture position was used.